This guide walks you through the complete initial setup of C-Bridge — from creating your floorplan to assigning devices to areas. Follow each step in order to ensure a successful commissioning.
Before you begin:
- C-Bridge hardware is physically installed and powered on
- The device is accessible at
http://cbridge-XXXX.local:3000or its IP address:3000 - You have your Casambi admin credentials ready
- Your floorplan is prepared (or you're ready to create areas manually)
Step 1: Log In for the First Time
Navigate to http://cbridge-XXXX.local:3000 in your browser (or use the device's IP address).
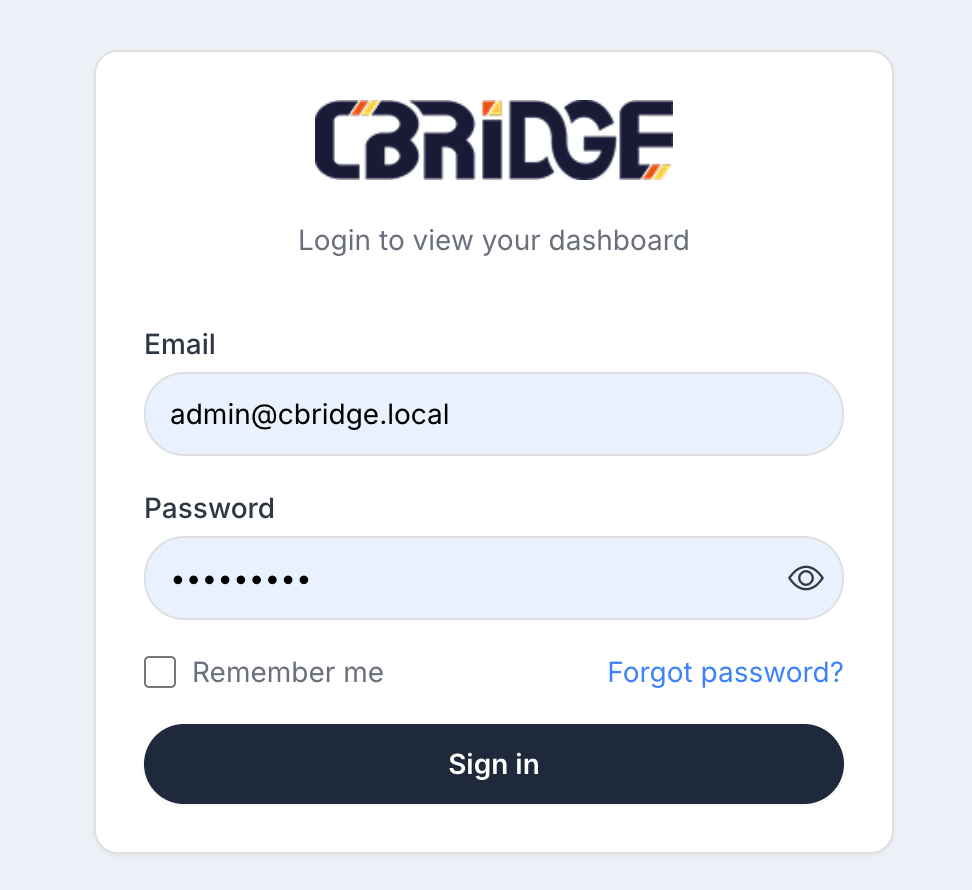
Use the default credentials printed on the label on the underside of your device (also included in your installation documentation).
Important: Change the default password immediately after logging in. Go to your account menu (top right) → My Profile → Account → Change Password.
Step 2: Create Your Floorplan
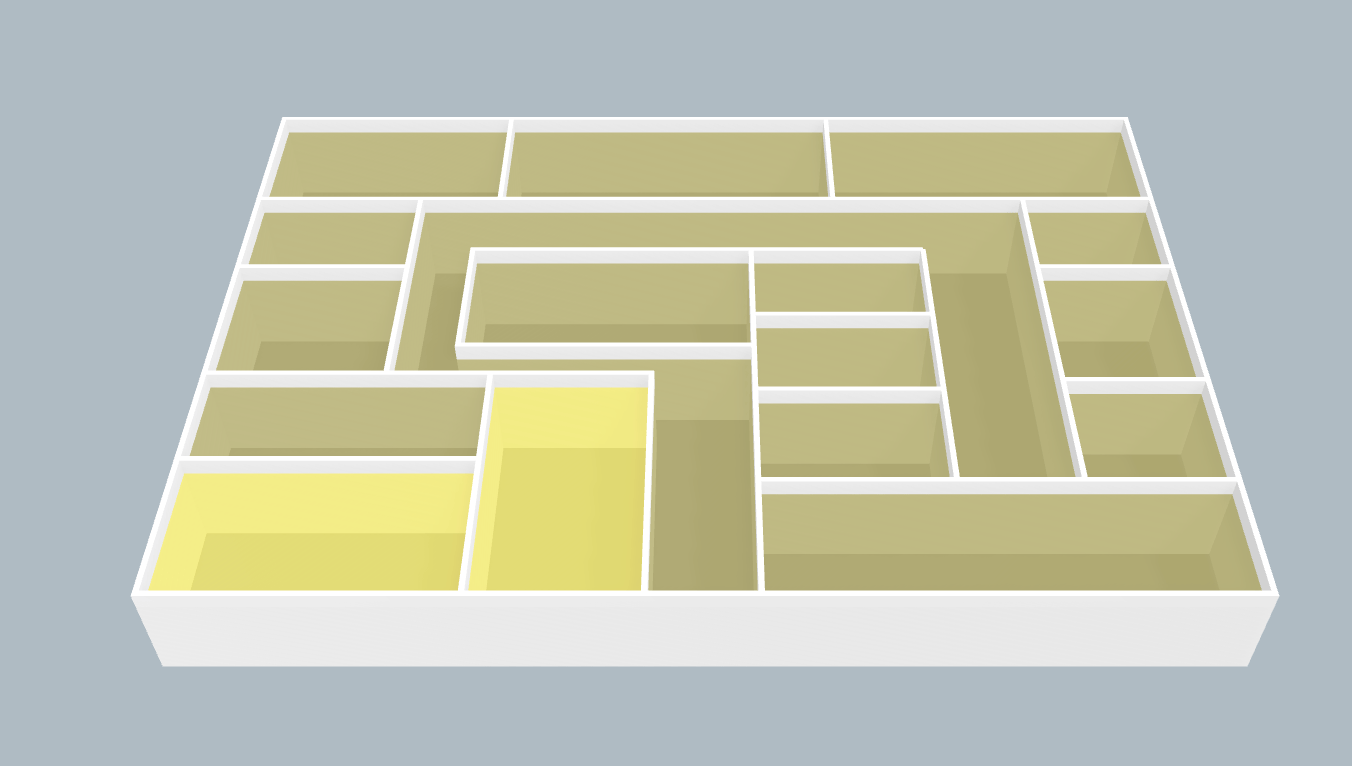
C-Bridge uses an embedded map that must be set up to use with your Casambi system. You must set up the floorplan in the map editor before importing it into C-Bridge.
Navigate to: Settings → Areas → Map → Floorplan
Upload Your Building Plan
- Open the map editor from the link in C-Bridge settings
- Upload your building or space floorplan image (PNG or PDF)
- Use a clear, high-resolution image for best results
Build the Layout
In the map editor:
- Add/draw walls to define room boundaries
- Add doors and windows where applicable
Once complete, click Publish Changes in the Smplr editor. The floorplan will not be available in C-Bridge until it is published.
Step 3: Import Areas into C-Bridge
Once your floorplan is published:
- Go back to Settings → Areas in C-Bridge
- Click Sync from Map
- C-Bridge will then import the rooms from the map
- If the room list is as expected, click Import to Areas
Organize Areas
After importing:
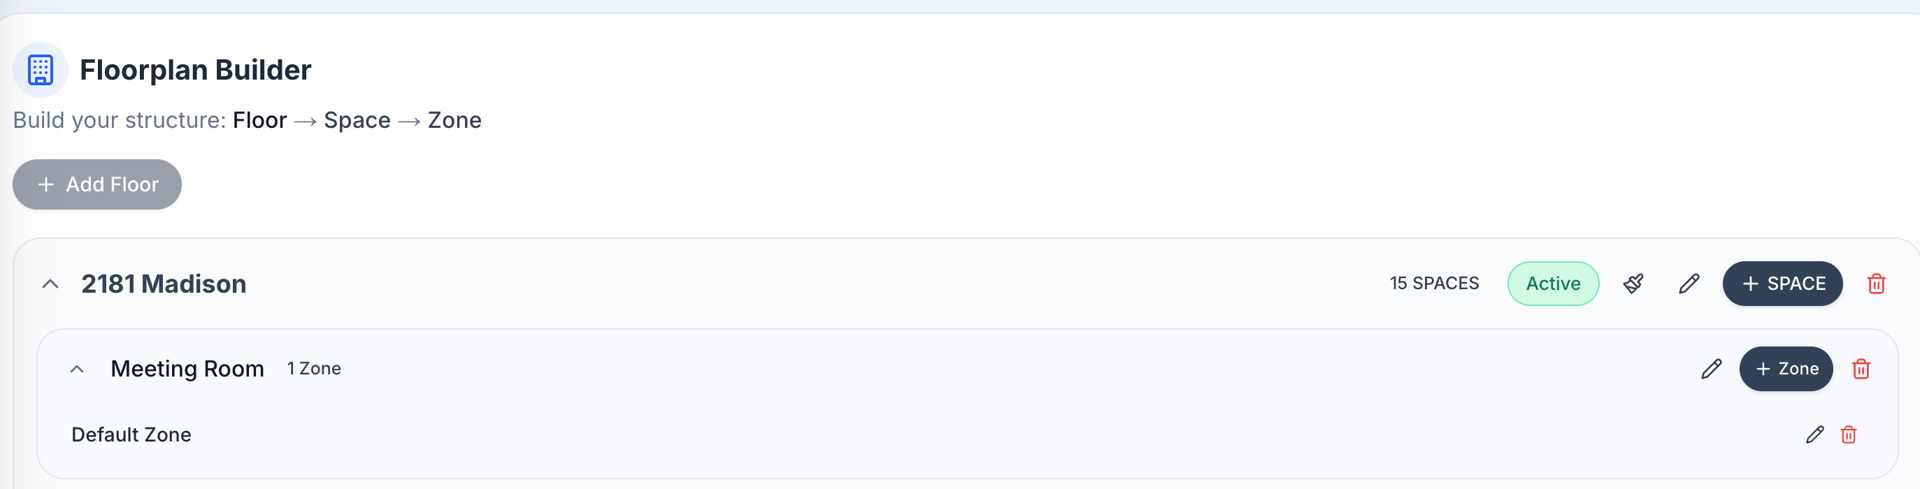
- Rename areas to match real-world naming (e.g., "Conference Room A")
- Rename zones if there are different zones within the rooms
- Click the Active button to use the floorplan as the active area structure
Step 4: Connect Your Casambi Network
Navigate to: Settings → Devices → Discover Devices
Authenticate with Casambi
- Enter the associated network Casambi admin email and password
- Click Connect
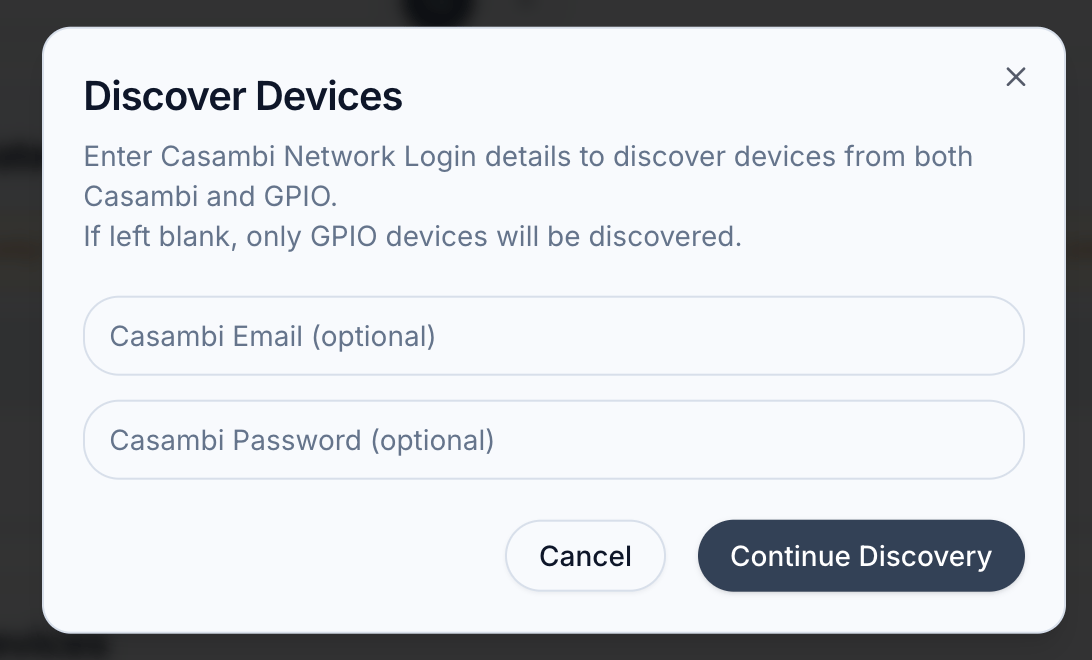
Note: Casambi credentials allow C-Bridge to retrieve network names and device metadata. Review the discovered records and enter any missing names, types, and functions before adding devices.
Step 5: Discover Devices
After connecting to Casambi:
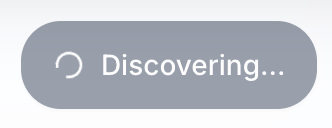
- Click Continue Discovery
- C-Bridge scans the Casambi network for all devices. Wait until the discovery process is completed.
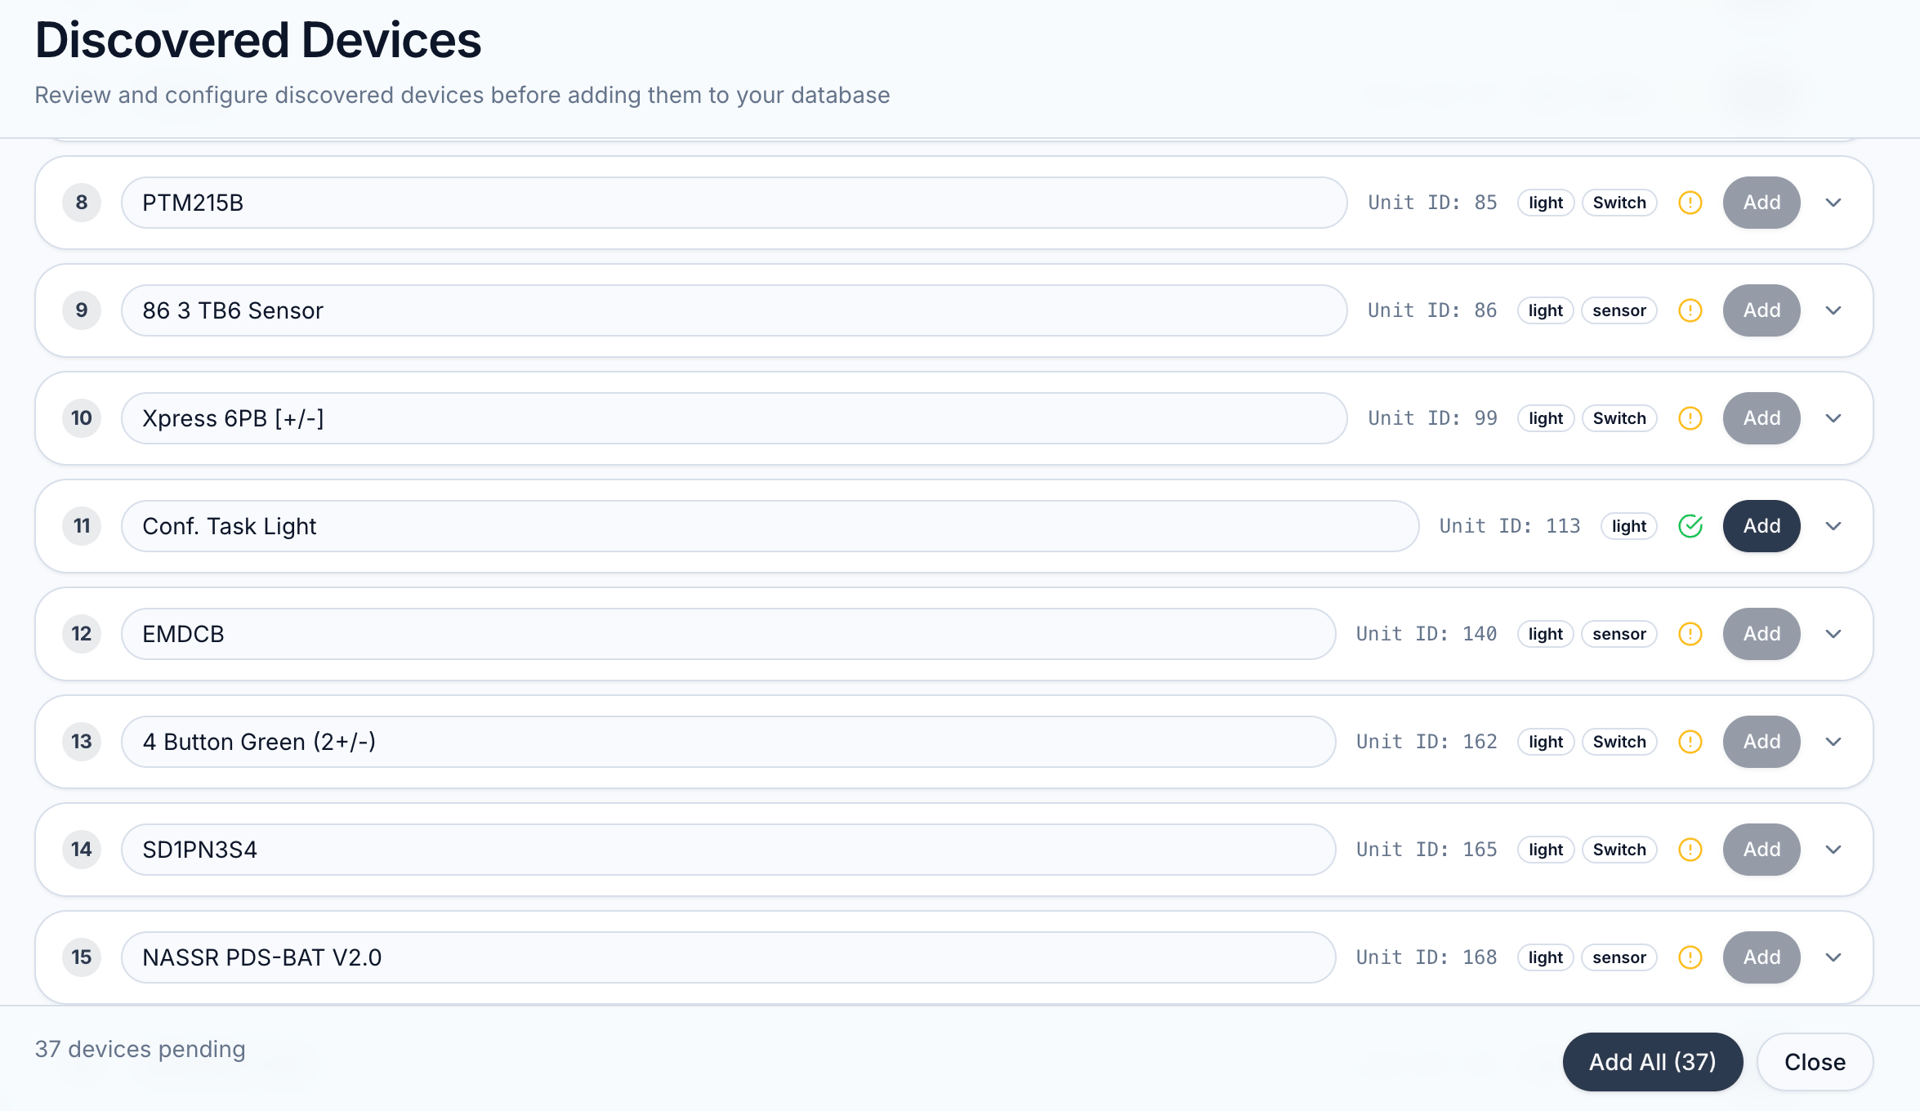
Review the discovered devices:
- A green check mark identifies a locally discovered device.
- A yellow warning identifies a network record that may no longer be present. Verify the device before adding it.
Tip: This may take 10–30 seconds depending on network size.
Step 6: Configure and Add Devices
For each device in the discovery list:
- Enter a descriptive, location-based name, such as "Lobby Downlight 1".
- Select the appropriate type: light, sensor, switch, shade, receptacle, gateway, C-Bridge, or other.
- Select every supported function. A combined sensor may provide both motion and daylight readings.
- Click Add Device once.
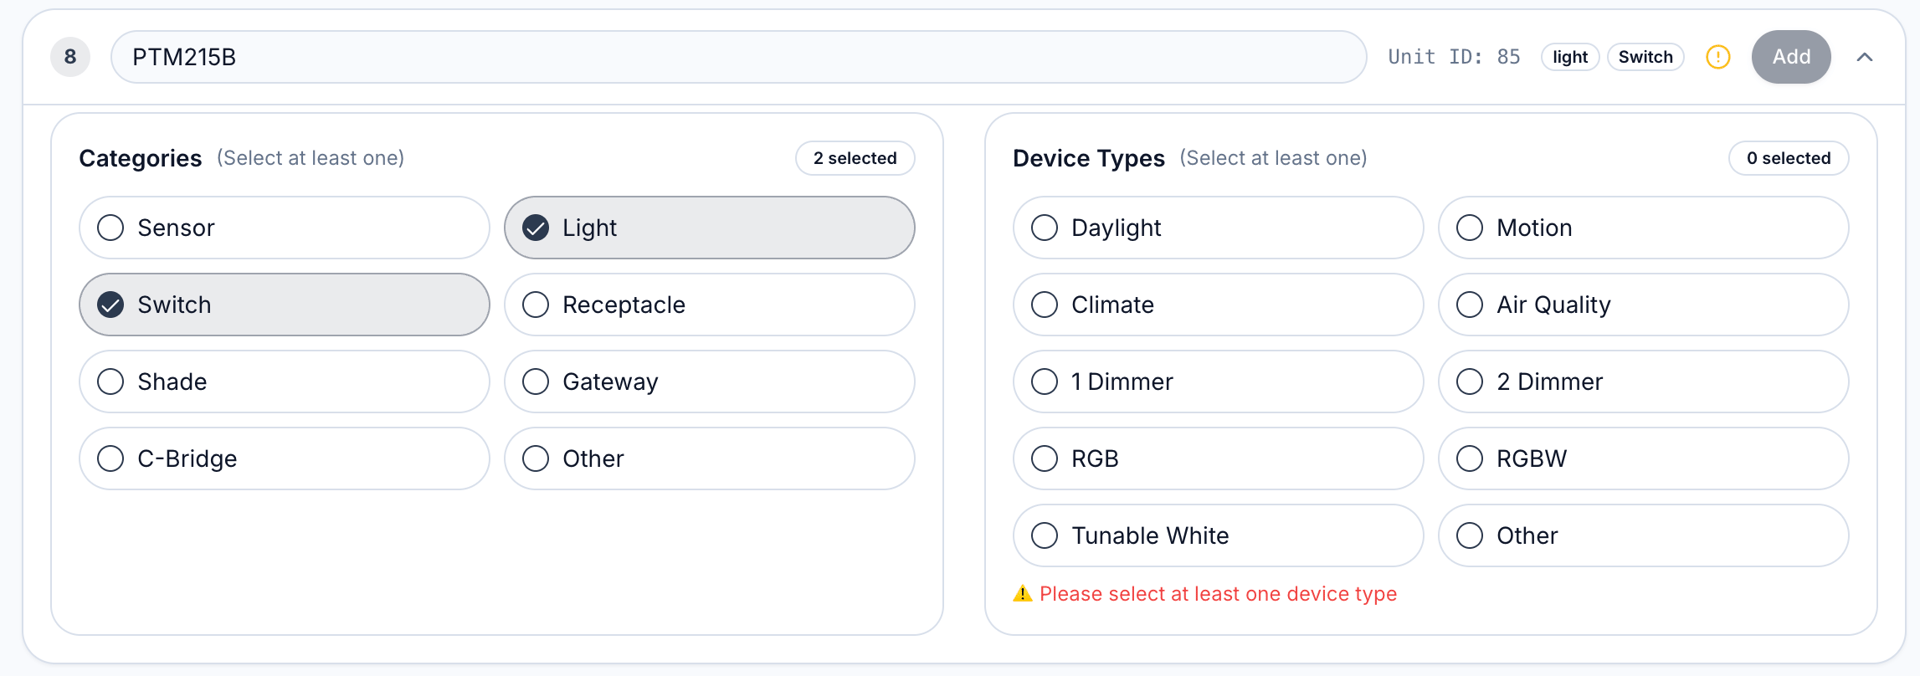
Repeat until all required devices are added. You can add more devices later from Settings → Devices → Discover Devices at any time.
Naming convention tips:
- Include location context: "Open Plan East — Track Light 3"
- Use consistent naming patterns across your project
- Avoid generic names like "Light 1" — they become confusing fast
Step 7: Assign Devices to Areas
Once devices are added, assign them to the correct areas:
- Navigate back to the main devices setting screen
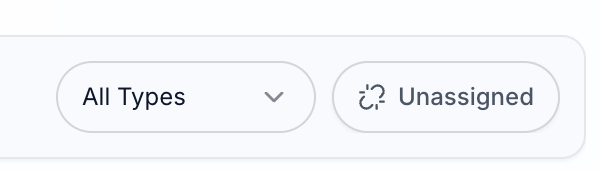
- Filter devices by Unassigned to find any devices not associated to an area
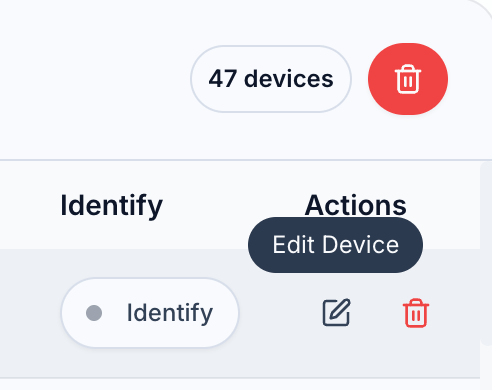
- Press the Edit Device button to select the device’s location
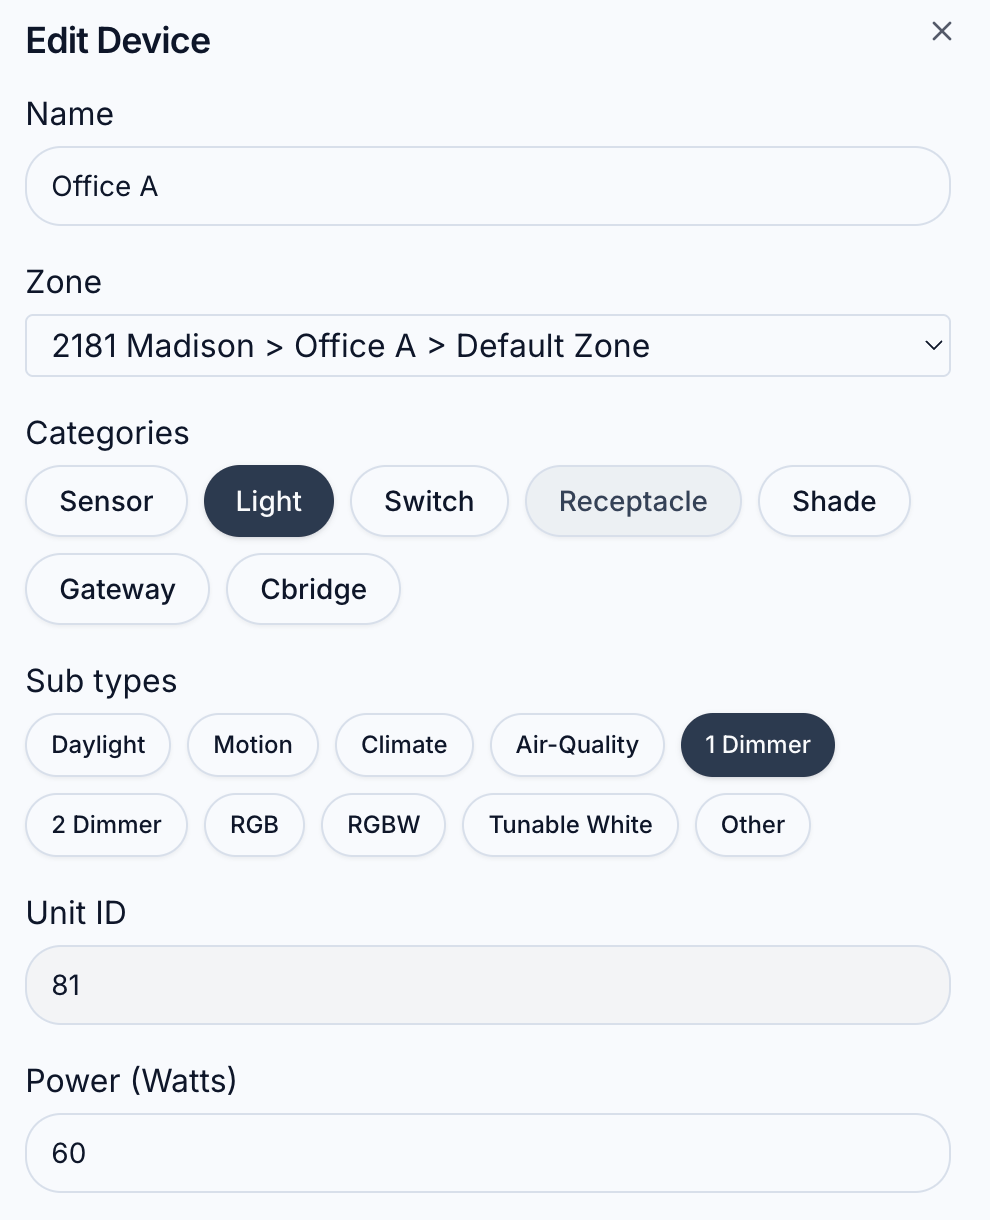
- Select the zone from the dropdown in the area tree, shown below.
- Edit the name, category and device types from this menu.
- Enter the maximum wattage of the device, if it is a light used in Energy Monitoring
- Press Save
Every device should be assigned to an area. Unassigned devices won't appear in the floorplan view or area-based energy monitoring.
Final Checklist
Before completing setup, confirm:
-
Floorplan is published and imported into C-Bridge
-
All areas are correctly named
-
All required devices are discovered and added
-
Devices are assigned to the correct areas
-
Default admin password has been changed
-
Additional user accounts have been created if needed
Tips & Best Practices
- Use consistent naming across areas and devices — this carries through to BACnet object names, alert messages, and energy reports
- Keep the floorplan layout simple but accurate
- Assign devices immediately after adding them — it's easy to lose track
- Run a quick dashboard check after setup to confirm all devices are showing as online
Next Steps
Once setup is complete:
- Configure Alerts for internet connectivity, motion, and energy events
- Enable BACnet if integrating with a building management system
- Set up additional User accounts for facility staff and integrators
- Review the Energy & Monitoring dashboard to confirm data is flowing